Perfect Polkadot Cards.
In this tutorial you will learn to only partially emboss the face of your card. Love this technique...the next blog post I will build on this technique and do double embossing. You will also learn about inking the die. Lets get started.
 The Product list.
Also for the Button card
In this tutorial you will learn to only partially emboss the face of your card. Love this technique...the next blog post I will build on this technique and do double embossing. You will also learn about inking the die. Lets get started.
- Perfect Polka Dots Embossing Folder 118138
- VersaMark 102283
- Jewels Basic Pearls 119247
- Mini Glue Dots 103683
- Embossing Buddy 103083
- Stampin' Emboss Powder White 109132
- Big Shot Die-Cutting Machine 113439
- Heat Tool 129056
- Field Flowers 122762 (words on my card) (Soon to be deleted)
- Embosslits Beautiful Wings 118138 (Soon to be deleted) Noooo!!
- A4 Wild Wasabi card stock 111850 A6 piece
- A4 Whisper white card stock 106549 A plus scrap
Also for the Button card
- A4 card stock Soft Suede 119982 Scrap 2" square
- A4 card stock Crumb Cake 121685 A6 piece
- A4 card stock Early Espresso 121686 A5.
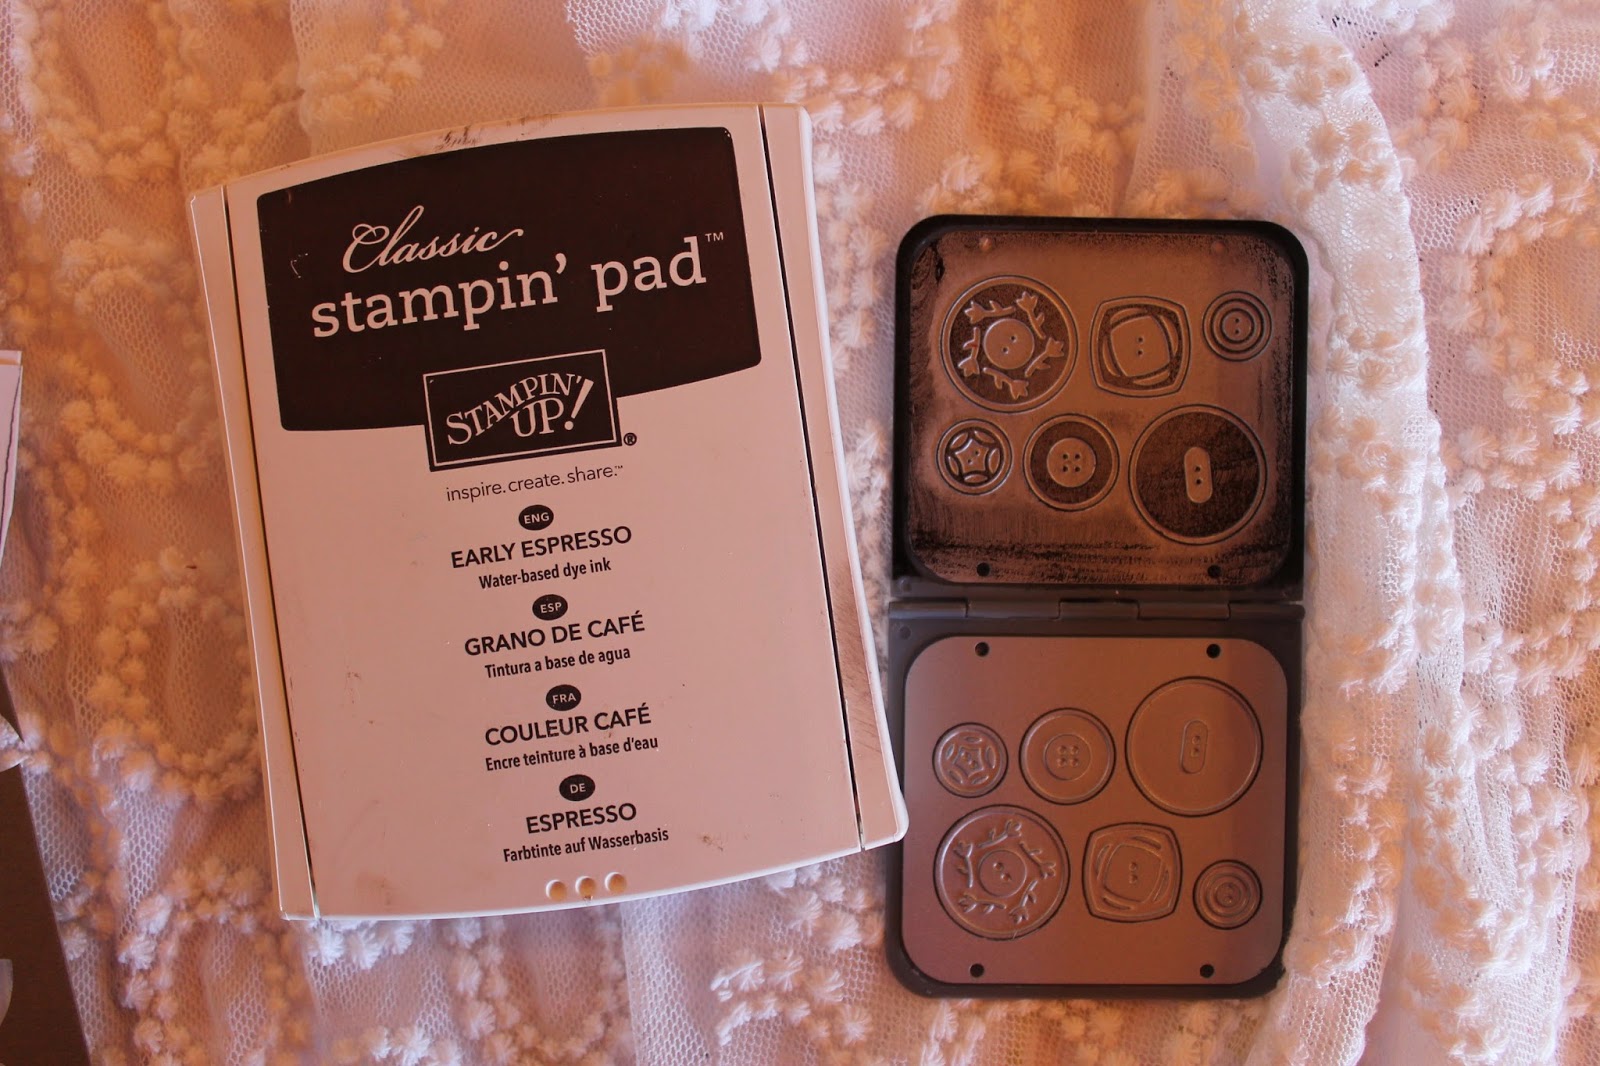
- Early Espresso Classic Stampin' pad 126974
- Embosslits Sweet Buttons 121813 (Soon to be deleted) Nooo!!
- Perfectly Penned stamp set 122982 (Soon to be deleted)
- Clear-mount Block pg 196 of catalogue
- Top Notes Bigz Die 113463
- Big Shot Die-Cutting Machine113439


Now for the button one...


No comments:
Post a Comment