Double Embossed Thank You card.
 This is a really cool technique where you make a frame from 3 layers of the backing card off the SU designer papers (or thin chip board) and this frame replaces on of the cutting pads when you put your chosen embossing folder through the Big Shot machine. You will under stand soon. Lets get started.
Stampin'Up Product list and codes
![]()


Stampin'Up Product list and codes
- 101179 Classic Stampin' Pad Basic black
- 122938 Classic Stampin' Pad Pool Party
- 122937 Classic Stampin' Pad Island Indigo
- 126950 Classic Stampin' Pad Rich Razzleberry
- 124390 A4 Card Stock Island Indigo Scraps
- 119981 A4 Card Stock Rich Razzleberry Scraps
- 124391 A4 Card Stock Pool Party A5 piece plus scraps
- 126422 Blooming with Kindness stamp set
- 113439 Big Shot Machine
- 129381 Framelits Oval Collection
- 116824 Petals-a-plenty Embossing folder
- 132076 Stippled Blossoms stamp set
- 128610(w) 122847(c) Hello Doily (Soon to be deleted) Noooo!!! don't miss out on this one.
- 123130 Embossing Folder Designer Frames (Soon to be deleted)
- 119858 Punch BoHo blossoms
- 126199 Stampin' Pierce Mat
- 125624 Simply scored stylus from scoring tool
- 114511 Little Leaves Sizzilits (Soon to be deleted)
- 119247 Jewel Basic Pearls
- 120998 Seam binding ribbon Very Vanilla. (Soon to be deleted) Nooo!! Hope just re packaging
- My home made bow maker.
To cut the frame I used Framelits Oval Collection and the chip board. I stacked 3 pieces together and fed it through my Big Shot machine with all the tabs and both cutting board. WARNING you may have to put it through without the top tab if your chip board is thick...proceed with caution.OR you can do 2 layers of chip board then use the one with the hole cut as the top layer to line up the die for the 3rd layer. I say this because when you put it through your Big Shot it will only cut the top layer but it embosses the 2nd layer so that you get the die in the right place on the next pass through the machine to cut. Proceed until you have 3 layers with the hole cut in the same place. Then glue these together. You will need both the frame and the cut out.
I then placed my whisper white card (A6) into the Petals-a-plenty Embossing folder and lay the frame over it. Lining it up where I wanted the flat area to be on my card face. I then fed it through my Big Shot machine with all the tabs and only one cutting plate.
My embossed piece looks like this... but that's not all now we do the double part of it.
I took the Embossing Folder Designer Frames (Soon to be deleted) sooooo sad. and position it over the flat area on my card. I placed the oval cut out over the area on the embossing folder and sent it through my big shot to get this.... WOW.
 |
| I then stamped my message. |
 |
| Cut my leaves with Little Leaves Sizzilits (Soon to be deleted) |
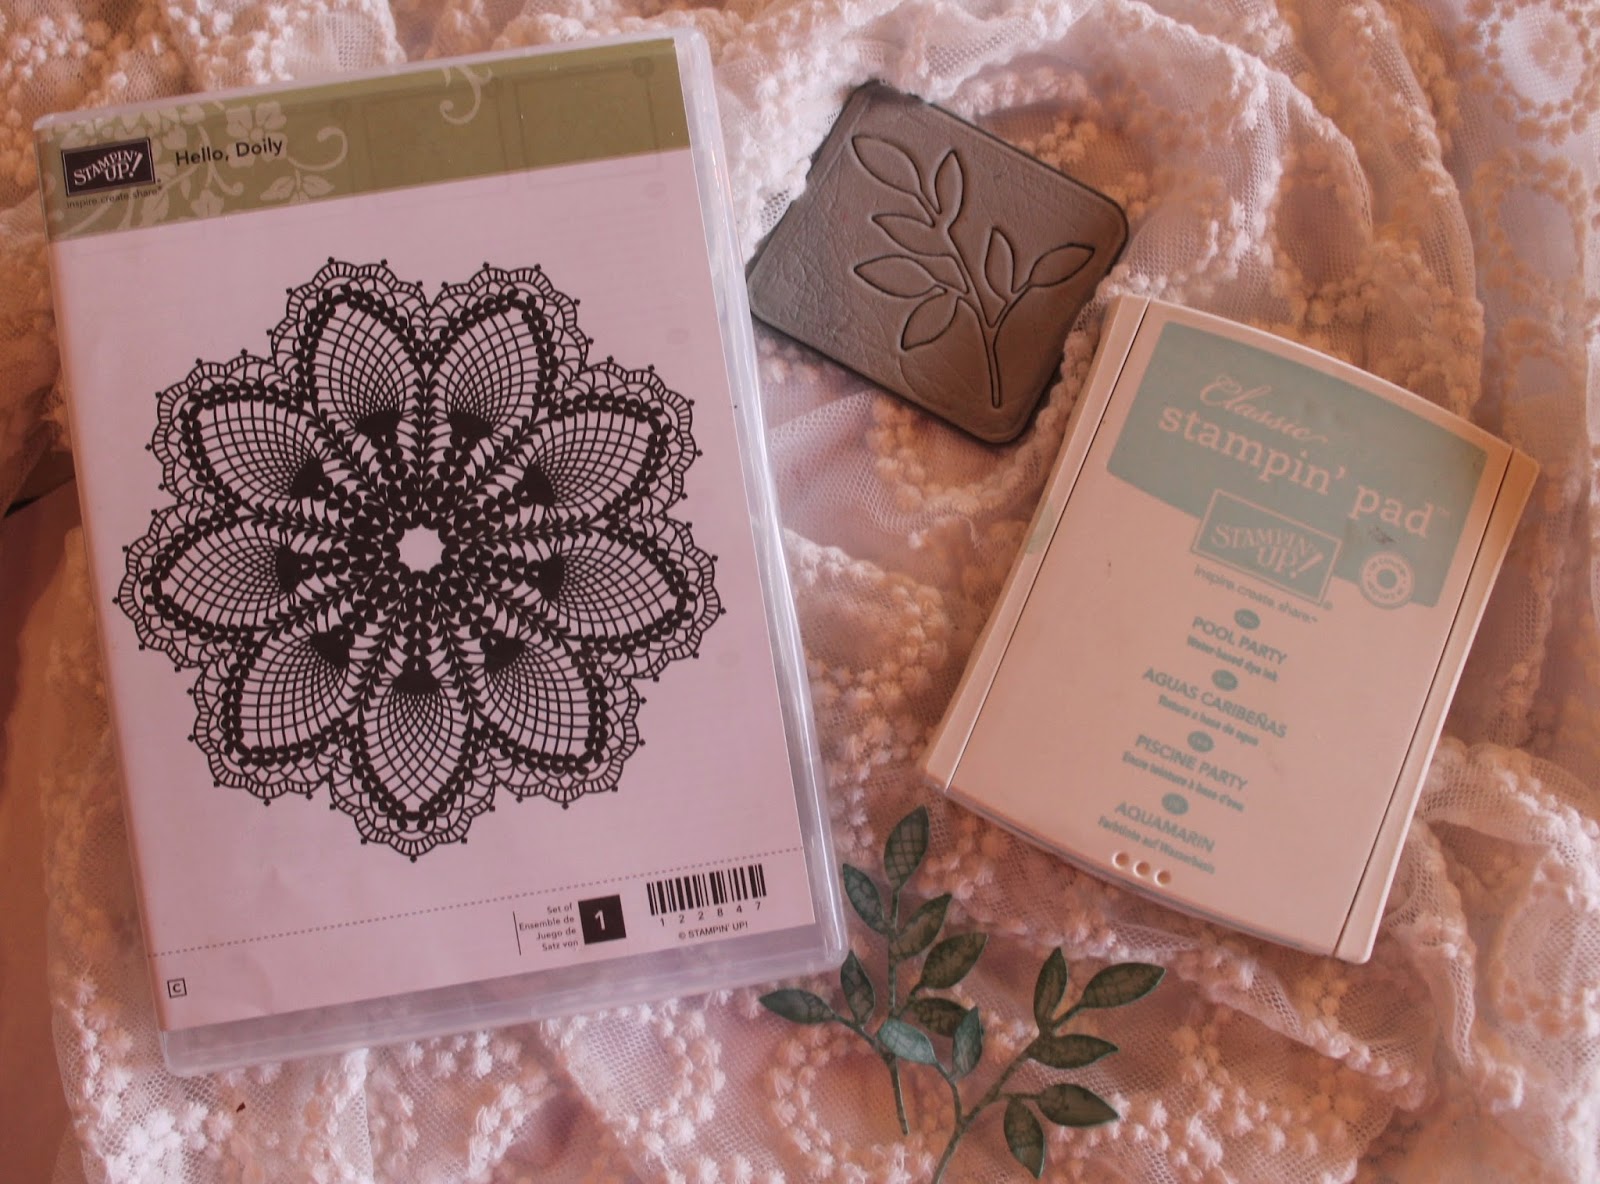 |
| Stamped them with the Hello Doily stamp and Pool Party Ink |
 |
| Punched out BoHo blossoms from Rich Razzleberry and Island Indigo Card stock. |
I then stamped these punched flowers with stipple blossom (the small flower stamp) using Island Indigo Ink
 |
| Then I shaped them using Simply scored stylus from scoring tool and Stampin' Pierce Mat. Then added Jewel Basic Pearl. |
I used the Seam binding ribbon Very Vanilla to make a bow which I had coloured with Rich Razzleberry Ink as shown in a previous blog.
I worked out my placement then glued it all in place.
Check back soon. Keep on Stampin'
Wendy
No comments:
Post a Comment